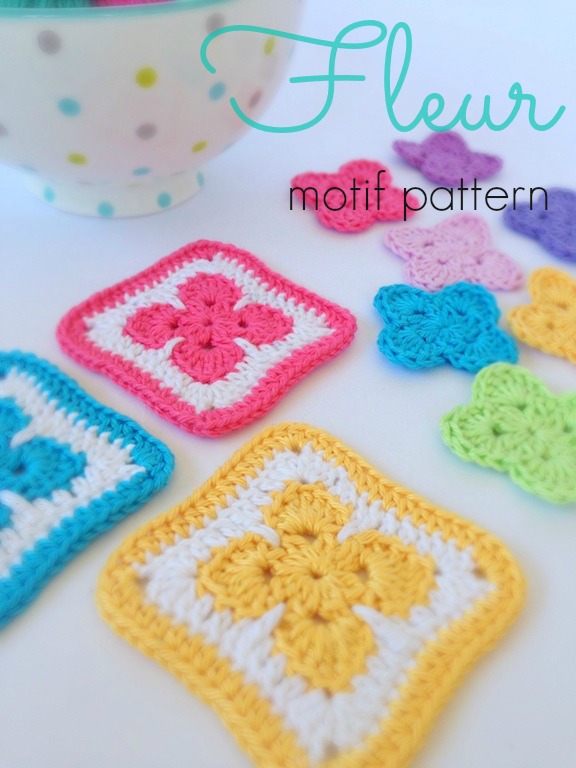
Hi there
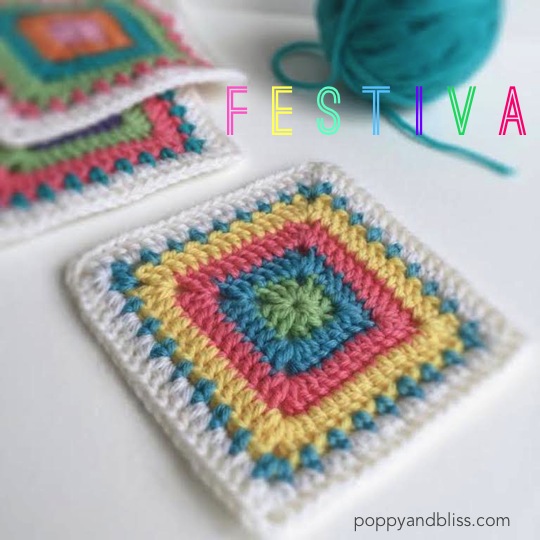
As promised last week, I’m back with a creative challenge and a ‘pattern of sorts’, or as I prefer to think of it, a ‘recipe’. I’m calling it a recipe rather than a new pattern as it’s nothing new, just a standard solid granny square to which I’ve added other elements (also nothing new) to give it a little twist.

Here’s where the creative challenge comes in; I’ve written out the instructions for just the square but I want to encourage you to then make it your own by adding your own special touches.
Let your imagination run wild with this. Use up all your scraps, play with colours, make it a riot of colour or monochromatic, make it smaller or bigger, try out a new border, use your favourite joining method to make a blanket, a bag, a cushion, a coat or even a thingy-ma-jig.
This is not a competition but a fun exercise to get your creative juices flowing. Let go of all expectations, try something you normally wouldn’t and see where it takes you. Sometimes the most pleasant surprises come from not overthinking a project, not worrying about using exactly the same yarn as the designer or not fussing about colour placement.

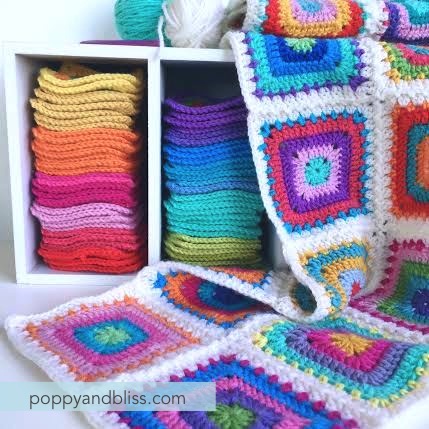
I’ve deliberately not thought too much about mine and the whole point of starting my project was to use up all my scrappy bits of yarn (didn’t work btw – I seem to have just as many, if not more now :). I didn’t worry about colours going together but just used whatever I happened to pick up next. Admittedly, I’m not fond of some of the colour combo’s but in the whole scheme of things it all just works so I’m letting go of my usual fussiness here.
Ok, let’s get started!

What you’ll need (for one square) :
- Small amounts of yarn in 4-5 different colours. It doesn’t matter what type of yarn you use as long as it’s all the same weight. I’ve used 8ply/Dk for mine
- Yarn for main colour. I’ve used off-white
- 4mm hook (or size suitable for your yarn)
Abbreviations – US Terms Used (UK/AUS terms in brackets)
ch: Chain
dc (tr): Double crochet (treble crochet)
sc (dc): Single crochet (double crochet)
sl st: Slip stitch
sp: Space
Instructions:
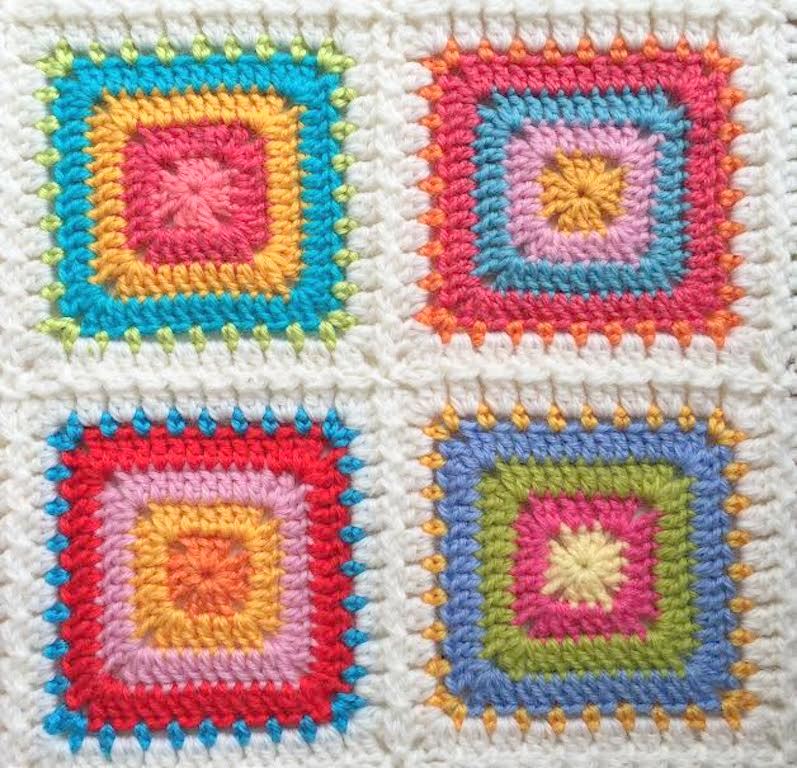
Start: Using Colour 1, make a magic circle or ch 3 and join with a sl st to form a circle
Round 1: Ch 5 (counts as first dc (tr) + 2 ch throughout). [3 dc (tr) into ring, ch 2] 3 times. 2 dc (tr) into ring, join with a sl st into 3rd ch of starting ch. Break off yarn.
Round 2: Join Colour 2 into any corner sp with a sl st. Ch 5, 2 dc (tr) into same sp. *Dc (tr) into next 3 sts, [2 dc (tr), ch 2, 2 dc (tr)] into corner sp. Repeat from * twice, dc (tr) into next 3 sts, 1 dc (tr) into first sp. Join with a sl st into 3rd ch of starting ch. Break off yarn.
Round 3: Join Colour 3 into any corner sp with a sl st. Ch 5, 2 dc (tr) into same sp. *Dc (tr) into next 7 sts, [2 dc (tr), ch 2, 2 dc (tr)] into corner sp. Repeat from * twice, dc (tr) into next 7 sts, 1 dc (tr) into first sp. Join with a sl st into 3rd ch of starting ch. Break off yarn.
Round 4: Join Colour 4 into any corner sp with a sl st Ch 5, 2 dc (tr) into same sp. *Dc (tr) into next 11 sts, [2 dc (tr), ch 2, 2 dc (tr)] into corner sp. Repeat from * twice, dc (tr) into next 11 sts, 1 dc(tr) into first sp. Join with a sl st into 3rd ch of starting ch. Break off yarn.
Round 5: Join new colour (can be a new colour or one already used ) into any corner sp. [1 sc (dc), ch 3, 1 sc (dc)] into same space, *ch 2, skip one st, sc (dc) into next st. Repeat from * to next corner sp, [1 sc (dc), ch 3, 1 sc (dc)] into corner sp. Repeat this sequence to end. Join with a sl st into top of first sc (dc). Break off yarn.
Round 6: Join Main colour into any corner loop, Ch 5, 2 dc (tr) into same sp * 2 dc (tr) into each loop space up to next corner, [2 dc (tr), ch 2, 2 dc (tr)] into corner sp. Repeat from * twice, 2 dc (tr) into each loop space up to starting corner (first sp), 1 dc (tr) into first sp. Join with a sl st into 3rd ch of starting ch. Break off yarn.
** On a side note, although they are perfectly fine for this square, I don’t use Ch3 as my first st or sl st at the end, but replace these with a faux st or invisible join. I’ll be back soon with a tute for both of these techniques.
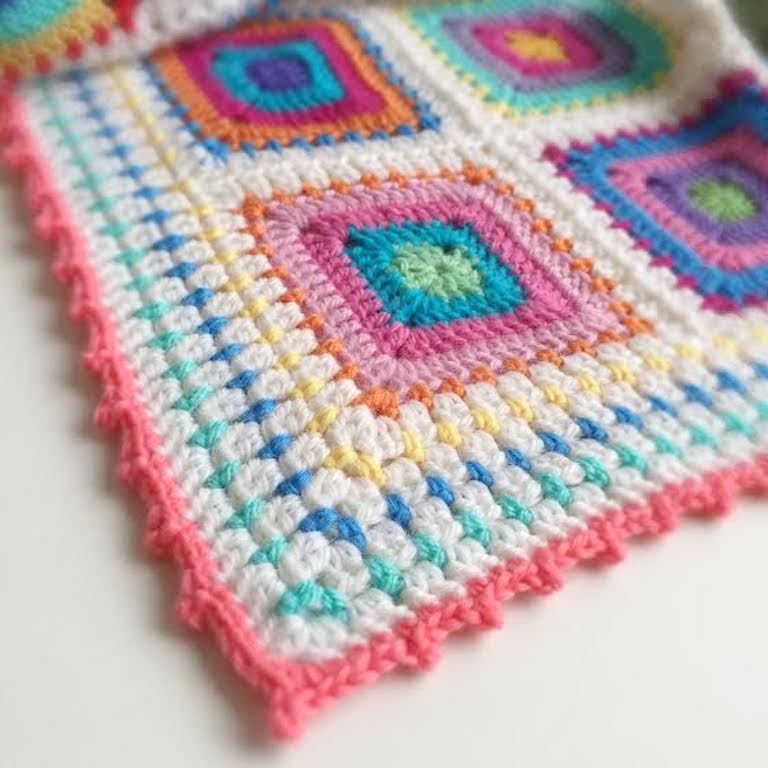
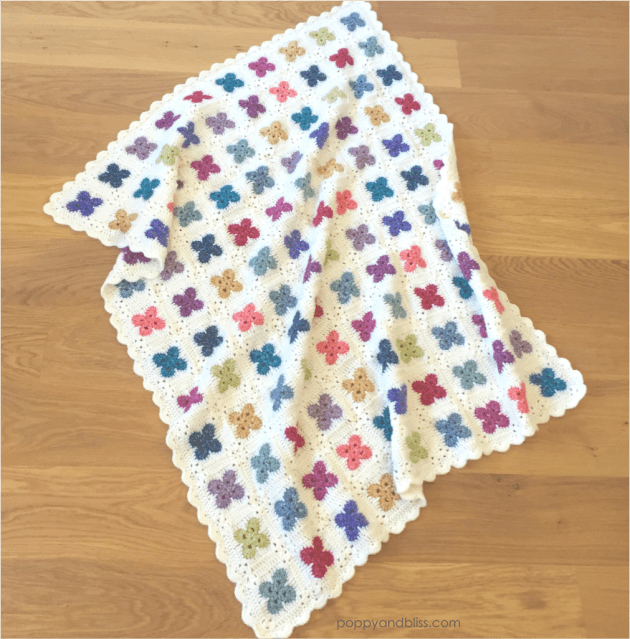
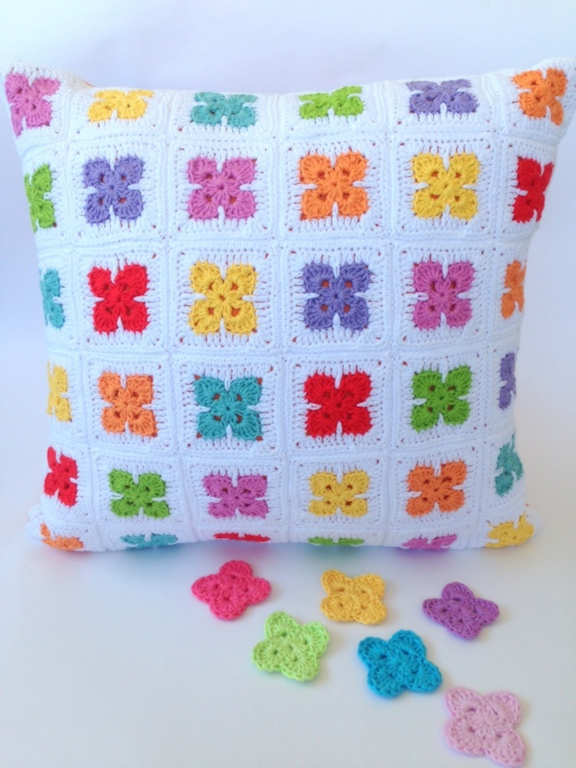
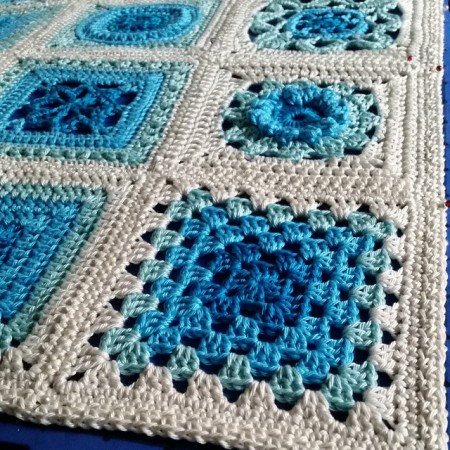
Now let the fun times roll, here’s where you get to put your special touch to this square. Use your favourite joining method and border to make it your own.
I’ve joined mine with the join-as-you-go method for my blanket but I’m making some more squares for a cushion and will be joining them with different coloured rows of sc (dc).

and carried on the block st pattern (rounds 5 & 6) in the border and added a picot edge. I’m very tempted to add pom poms too!

and because it’s impossible to take a good photo on this dark and dreary day today, here’s a crap photo of my finished Festiva blanket trying to look casually styled on the couch …

I hope you enjoy making Festiva. I’d love to see your fab creations so be sure to tag them with #festivasquare on instagram or pop a pic up in my Ravelry group if you prefer. I’d love to see them!
Until next time
Michelle x

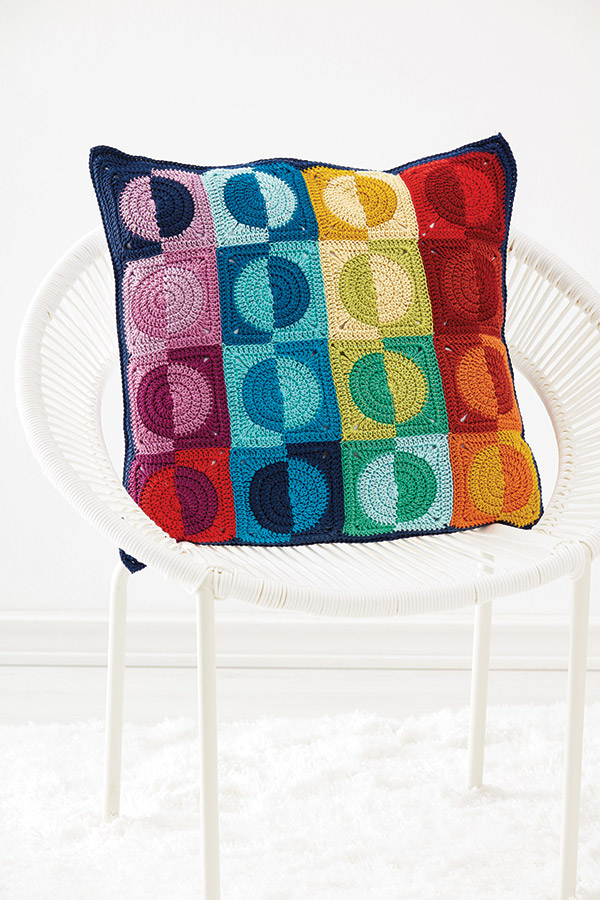
 image credit: F & W media
 image credit: F & W media