Hello Hello
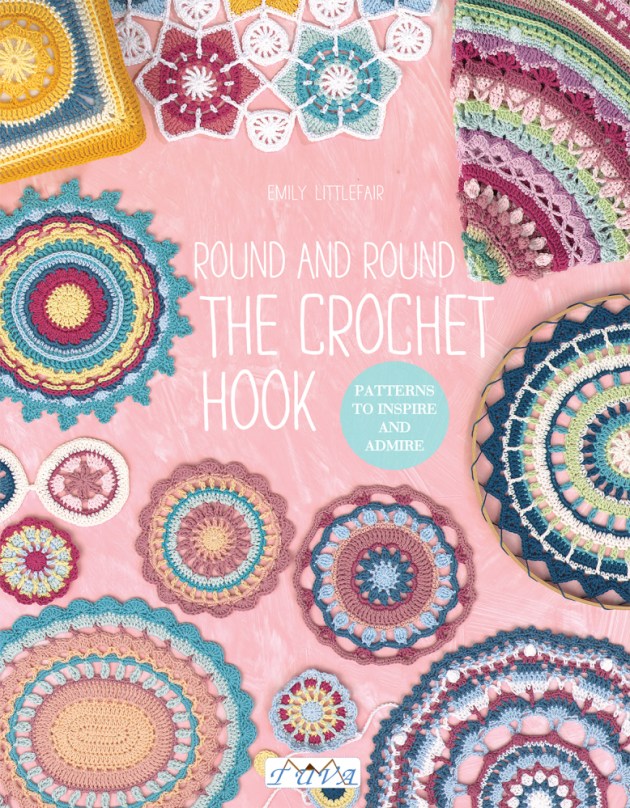
I’m back on my little blog after being MIA for almost a year! Yikes, that year slipped by! I’ve been a busy girl in that time and wrote a book. Yep, a book! I’m so excited and very proud with how it’s turned out but I can’t say much more for now except to say that it will be released later this year and I will pop back with more details soon. I can’t wait to share!
In the meantime, here’s a free pattern for you. I’ve been having so much fun making these feathers. They’re easy and quick to make and easily achievable with only just the basic knowledge of Tunisian crochet.
** You can get the free pattern below or purchase the ad-free printable PDF for $2 in my Ravelry, Etsy or LoveCrochet shops **
I hope you will have as much fun as I have making your own pretty feathers. Enjoy

TUNISIAN FEATHERS
Abbreviations:
ch chain
M1tb Make 1 – top bar
Tss Tunisian Simple Stitch
lp/s loop/s
sl st slip st
yo yarn over
st/s stitch/es
Special Stitches and Techniques Used:
End st: The last stitch of the forward pass is treated a little differently than the rest of the stitches in your row. To make an end st, insert hook under the last vertical and the bar lying directly behind it (2 lps on hook), yo and draw up lp (1 lp back on hook & end stitch made)

M1tb (make 1 – top bar): insert hook under top loop of horizontal bar before next st, yo, pull up loop and leave on hook (1 extra stitch made)
Tss3tog: insert hook under next 3 sts, yo and pull up loop (1 loop on hook)
Finished Size:
Large Feather = 17 cm
Small Feather = 13 cm
You will need:
- 5mm crochet hook without handle (pop a rubber band on the end to keep your stitches from falling off)
- DK/8ply cotton in at least 2 colours
PATTERN:
Large Feather
Pattern notes:
- The following instructions are for the design pictured above (the little guy sitting out on his own) but you can go to town with as many colours as you like (or could be bothered weaving in the ends of ), mix up the stripe sequence as you please. There are so many possibilities! Check out the photos throughout this post for inspiration.
- To clarify that the last stitch of the forward pass is worked differently, I always refer to this stitch in my patterns as an ‘end stitch’
- Carry yarn between rows if there is only a few rows between colour changes. If there are more than a few rows, then it’s best to cut yarn and rejoin.
- As you work, you will notice that your feather starts to lean to one side a little. That’s a good thing! This will give your feather a nice natural shape
Foundation row: Using Colour A, ch 11. Starting from 2nd ch from hook, pick up a loop from the * top loop only of chain and in each ch to end (11 lps). Return
* a nicer edge is achieved for this design by working into the top loop instead of working from the usual back bump.
Row 2: M1tb, Tss 3, Tss3tog, Tss 3, M1tb, work end st (11 lps). Return
Row 3: Work as for Row 2, changing to Colour B on the last 2 lps of return
Row 4: Continuing with Colour B, work as for Row 2, changing to Colour A on the last 2 lps of return
Row 5: Continuing with Colour A, work as for Row 2, changing to Colour B on the last 2 lps of return
Row 6: Continuing with Colour B, work as for Row 2, changing to Colour A on the last 2 lps of return
Rows 7 – 10: Continuing with Colour A, work as for Row 2
Row 11: Work as for Row 2, changing to Colour B on the last 2 lps of return
Row 12: Continuing with Colour B, work as for Row 2, changing to Colour A on the last 2 lps of return
Row 13: Continuing with Colour A, Tss 3, Tss3tog, Tss 3, work end st (9 lps). Return changing to Colour B on the last 2 lps
Row 14: Continuing with Colour B, M1tb, Tss 2, Tss3tog, Tss 2, M1tb, work end st (9 lps), changing to Colour A on the last 2 lps of return
Rows 15 – 17: Continuing with Colour A, M1tb, Tss 2, Tss3tog, Tss 2, M1tb, work end st (9 lps). Return
Row 18: Tss 2, Tss3tog, Tss 2, work end st (7 lps). Return
Row 19: M1tb, Tss 1, Tss3tog, Tss 1, M1tb, work end st (7 lps). Return
Row 20: Tss 1, Tss3tog, Tss 1, work end st (5 lps). Return
Row 21: Tss3tog, work end st (3 lps). Return: – draw yarn through all 3 lps on hook. Ch 6, sl st back down along chain. Fasten off.
Weave in ends
———————————————————————————————————————————–
Small Feather:
Pattern note: The following pattern doesn’t include colour change instructions.
Foundation row: Ch 9. Starting from 2nd ch from hook, pick up a loop from the * top loop only of chain and in each ch to end (9 lps). Return
Rows 2 – 10: M1tb, Tss 2, Tss3tog, Tss 2, M1tb, work end st (9 lps). Return
Row 11: Tss 2, Tss3tog, Tss 2, work end st (7 lps). Return
Rows 12 – 13: M1tb, Tss 1, Tss3tog, Tss 1, M1tb, work end st (7 lps). Return
Row 14: Tss 1, Tss3tog, Tss 1, work end st (5 lps). Return
Row 15: Tss3tog, work end st (3 lps). Return: – draw yarn through all 3 lps on hook. Ch 6, sl st back down along chain. Fasten off.
Weave in ends
Tip: You can also make your feather in a single colour and embroider your designs on later

There are no rules here. I’ve mainly used long stitches following the natural slant of the crochet rows and the occasional loopy stitch (I’m no embroiderer). You could also weave your yarn under the vertical bars for another interesting effect. Have fun experimenting!
Now that you’re addicted to making feathers. There are so many ways you can use them to decorate all sorts of things …
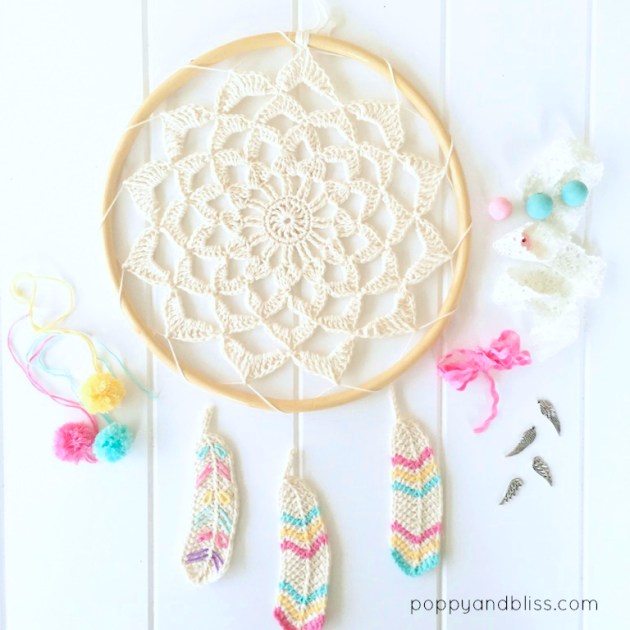
Make a dreamcatcher inspired wall hanging – add beads, charms, pom poms, lace and ribbon if you like
 Dangle them off a basket or bag

they make great bookmarks too
These are just a few ideas. Here’s some more to spark your imagination…
- String them along a crochet chain for a feather garland
- Attach them to a woven wall hanging
- Attach one to your keyring
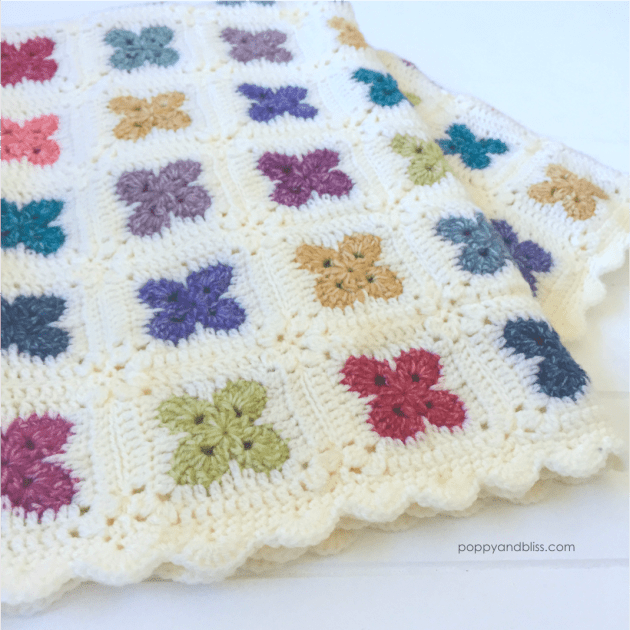
- Use them as an applique motif on blankets, clothing, cushions ..
- Frame one or two and hang them on a wall
- Use them as gift toppers
- Make greeting cards – Stick one on a blank card with double sided tape
- Make a necklace
What will you make?
Until next time
Michelle x
p.s. edit: Thank you everyone for the overwhelming love this post has received. There has been lots of requests for the mandala to make the dreamcatcher and also for a video tutorial for the feathers.
In answer to your requests – I’m very sorry but I won’t be doing a video for this free pattern.
I will publish the mandala pattern at a later date but for now I am busy with other commitments and won’t have time just yet.
Thank you for understanding.
Copyright:
Please respect my rights as the designer of this pattern. This pattern may not be reproduced in any way for distribution, sale or for teaching purposes.


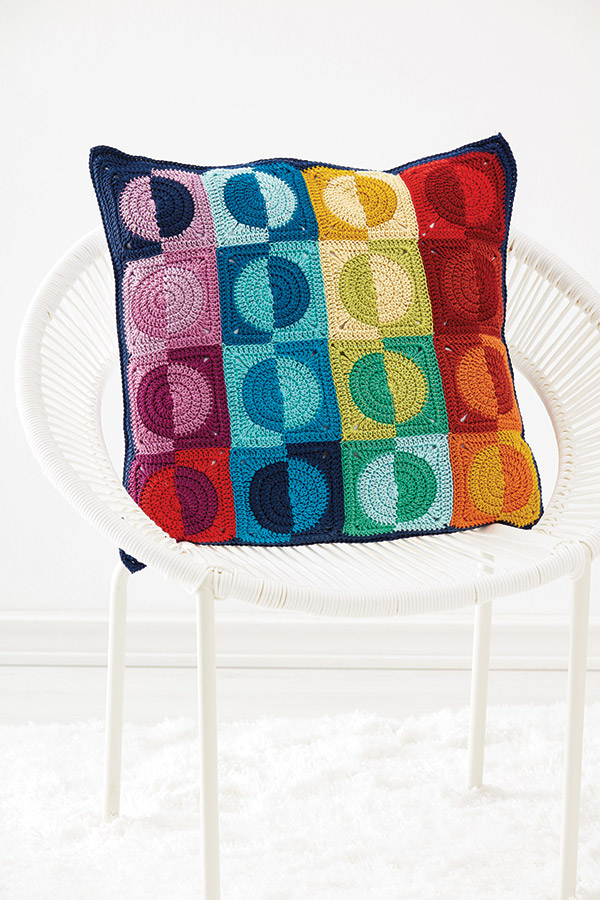
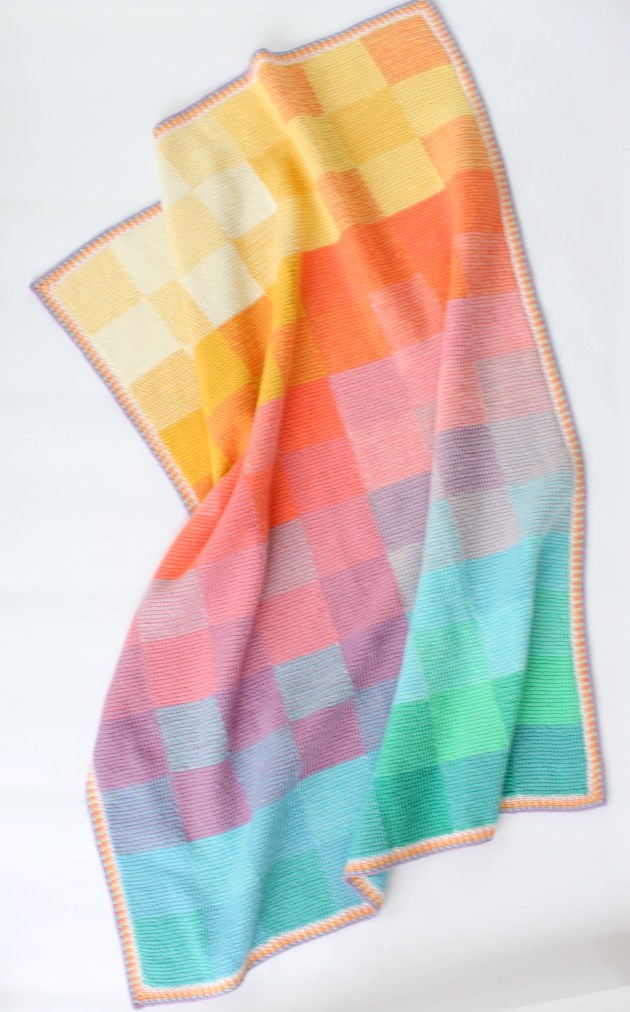
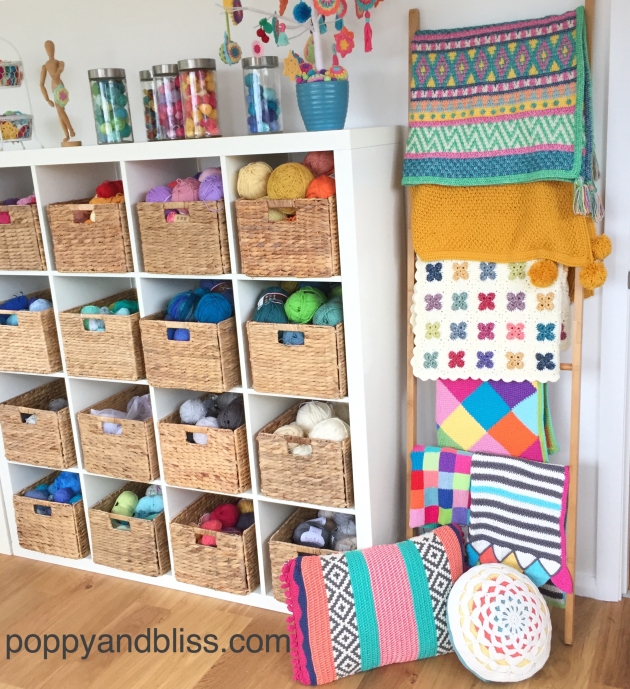 Here she is sitting at the top of the ‘to do list’ aka the ‘ladder of shame’ in my new craft room in my new house… one of the life things that got in the way of writing up the pattern. Building houses and crochet pattern writing don’t mix well together I’ve found!
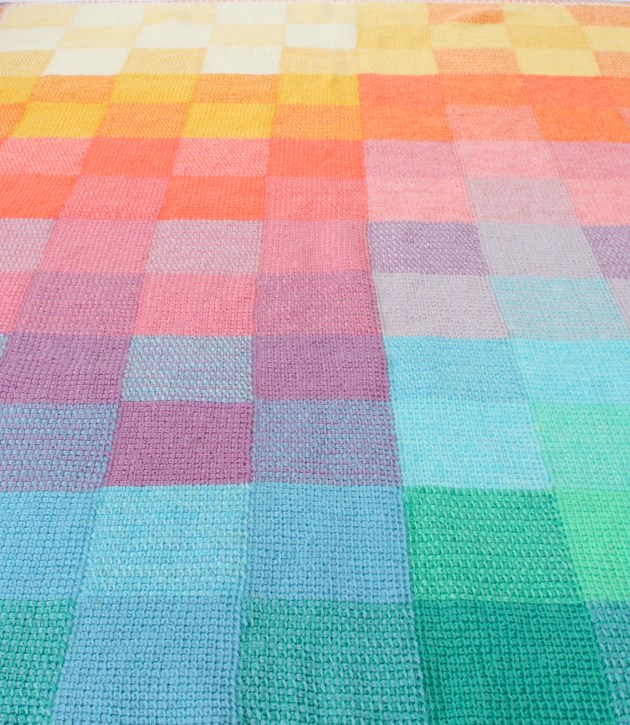
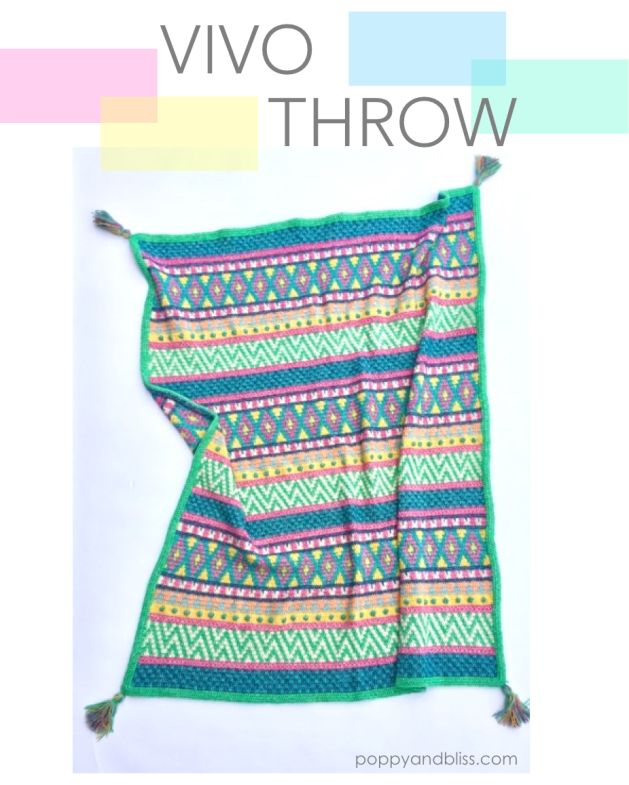
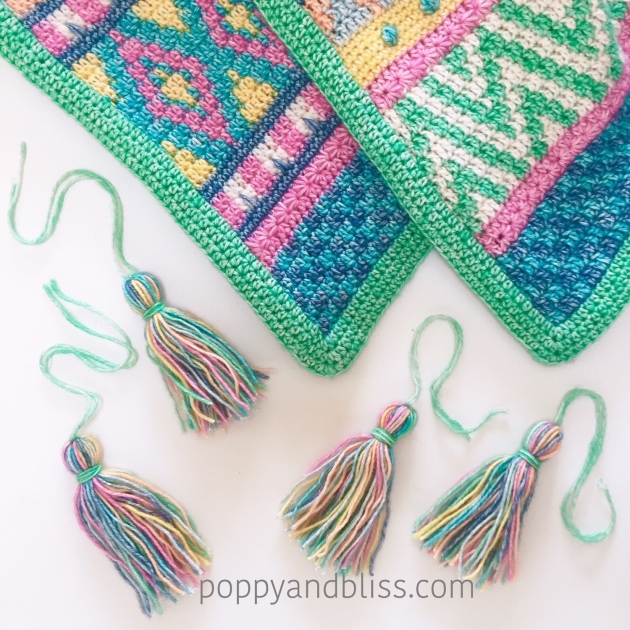 Just like the cushion version, the blanket is created using tapestry crochet and textured stitches to create the designs. The pattern is rated as intermediate, mainly for all the colour changes but it is not as complicated as it looks using only basic stitches and each design element is set out in strips with easy to follow short pattern repeats for each section.
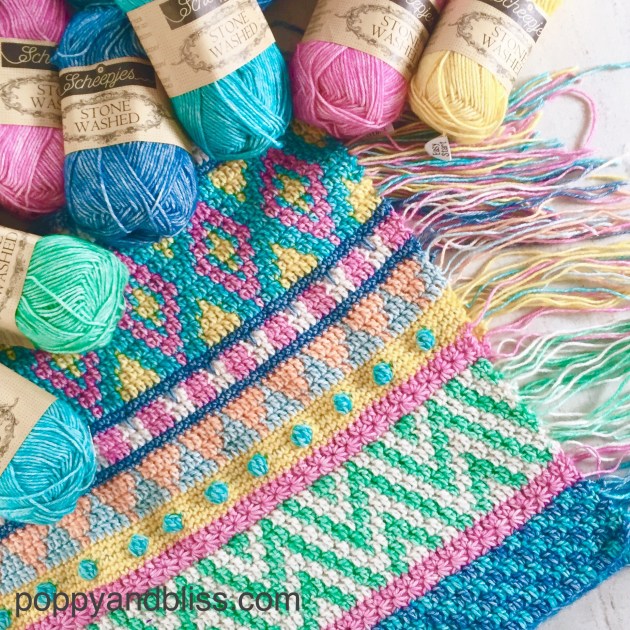 Don’t be put off by all those ends! With a little bit of magic and a little bit of cheating we’ll deal with those pesky bits without any weaving in.

 image credit: F & W media
 image credit: F & W media