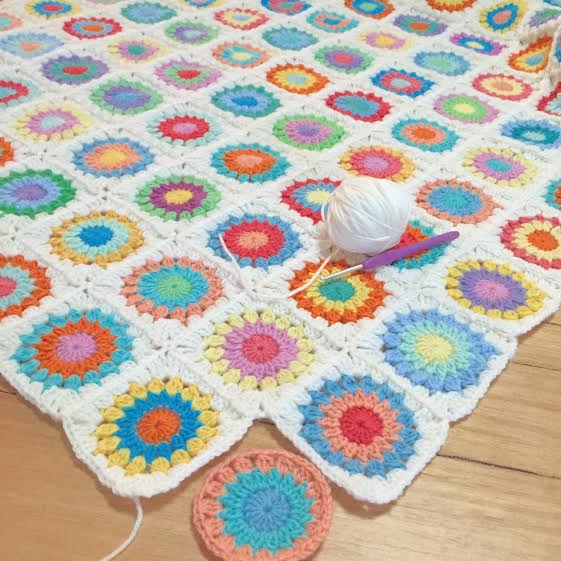
You may remember me showing you this pattern that I was working on way back here.
Well that was January and now it’s almost the end of April! Once again time has flown out the door and this almost finished pattern has sat glaring at me ever since. Mainly because I wasn’t sure what I wanted to do with it …. hexi or square …. cushion or blanket … this or that …
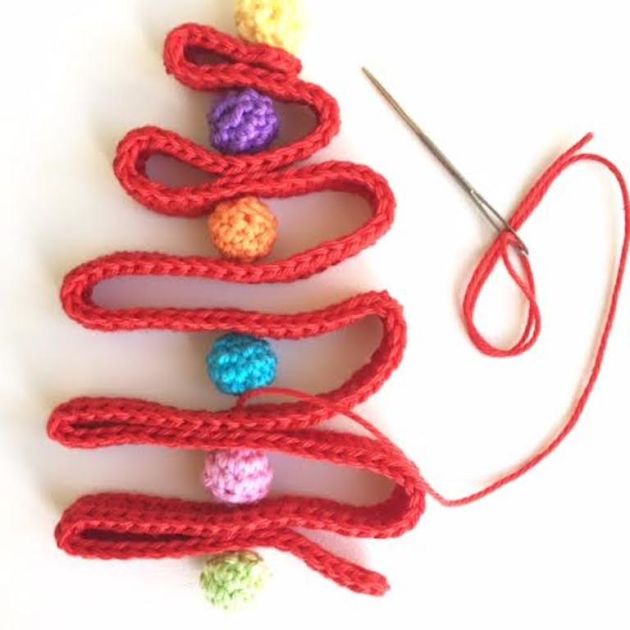
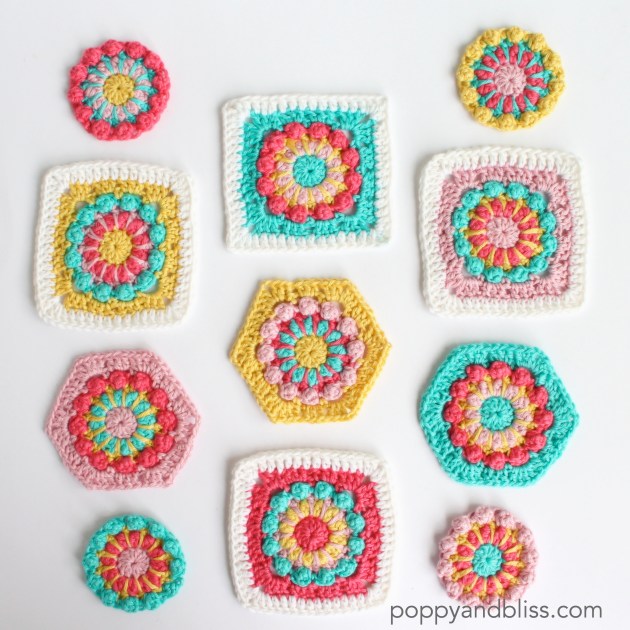
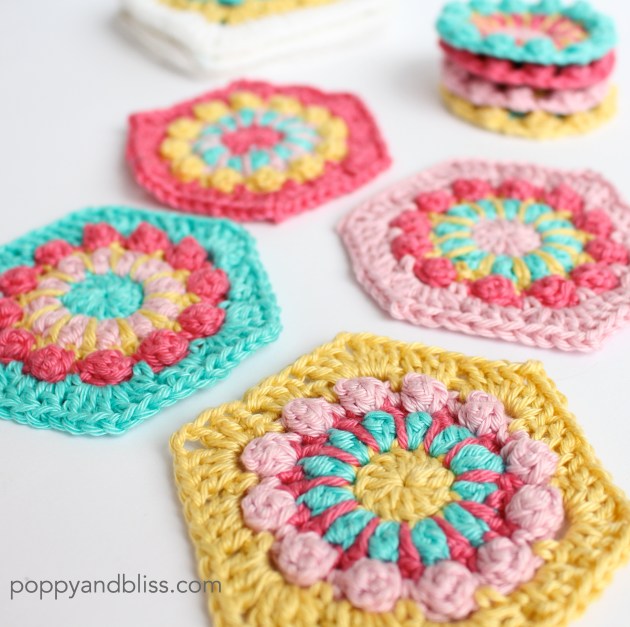
So enough with the muddled over-thinking! I give it to you as is and you can choose what you would like to make. Hexi or Square it’s up to you (or you could even make just the circle and use it as a pretty little embellishment or even a garland…)
OK let’s make stuff!

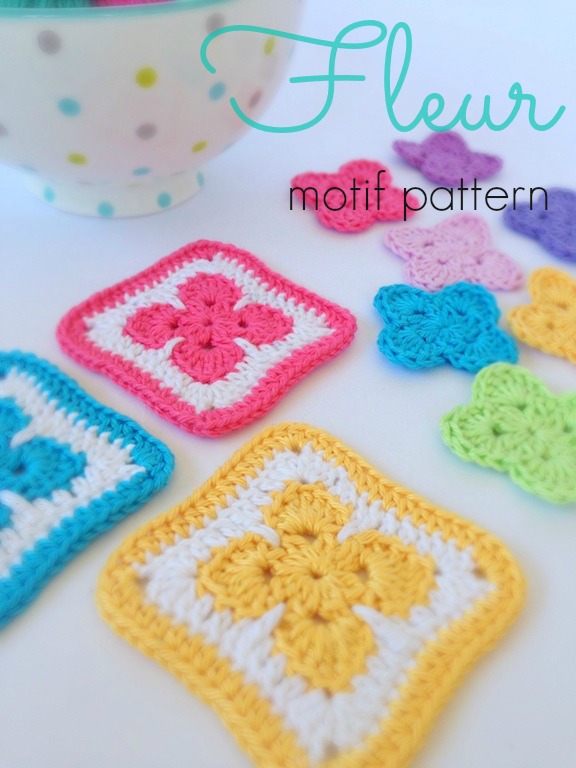
Merry-Go-Round Pattern:
I’ve written out the patterns in both US terms and UK/AUS terms. Find the version you’re familiar with and lets get hookin…
Also – I haven’t had this pattern tested externally so please do let me know if you spot any errors. Edit – 3/5/16: there was a small error in round 2 which has now been fixed.
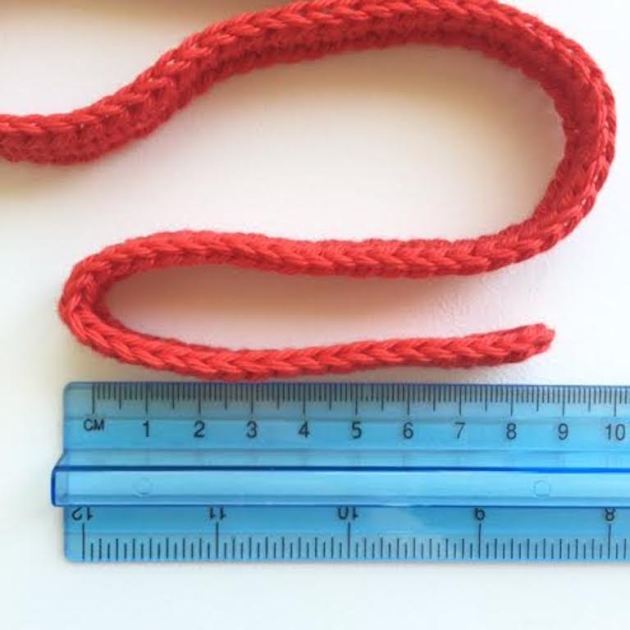
Size: 9 cm
What You’ll Need:
- 4mm hook
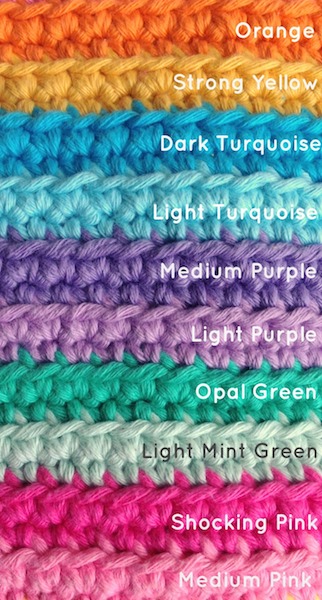
- 8ply/DK yarn: I’ve used Cascade Ultra Pima cotton in Sunshine, Honeysuckle, China Pink and Cool Mint but any yarn will do.
Colour Combinations:
With just 4 colours you can get at least 24 different colour combinations. I’ve used the same colour in Rounds 1 & 6 giving you even more (don’t ask me to do the math – too hard! 😉 . Check out this site for a great formula for creating unique colour combo’s.
Abbreviations:
US Terms used (UK in brackets)
ch chain
dc (tr) double crochet (treble crochet)
sc (dc) single crochet (double crochet)
sl st slip stitch
sp/s space/s
yo yarn over
Special Stitches:
US Terms / (UK/AUS in brackets)
2-dc (tr) Cluster stitch: Work first half of a dc (tr) as normal but before the last yo (2 loops on hook), yo and insert back into same st, yo, pull loop through (4 loops on hook), yo, pull through first 2 loops on hook (3 loops on hook), yo, pull through all 3 loops (stitch made)
Note : the first cluster st in a round will be worked differently. Instructions are given within the pattern for this first st then follow the above instructions for all subsequent stitches
Long DC (tr): Worked the same as a regular dc (tr) but into a stitch further down in the previous round. Keep your tension on the looser side and draw the stitch up so that it is even with the rest of the stitches in current round.
Popcorn: Work 3 dc (tr) into same stitch, drop the loop off your hook and re-insert hook under the top 2 loops of the first dc (tr) in the group, grab the dropped loop with your hook and pull back through the stitch, ch 1 to secure.

Pattern – US TERMS:
SQUARE
Start: Make a magic circle or ch 4 and join with a sl st to form a ring
Round 1: Using Colour A, ch 3 (counts as first dc), 11 dc into ring. Join with a sl st and into top of beginning ch-3. Fasten off (12 dc)
Round 2: Join Colour B, ch 2 (counts as 1st partial dc), yo and insert hook back into same st, yo, pull loop through (3 loops on hook), yo, pull through first 2 loops on hook (2 loops on hook), yo, pull through 2 loops (first 2-dc Cluster stitch made), ch 1, * 2-dc cluster, ch 1. Repeat from * into each st to end. Join with a sl st into top of first cluster and fasten off (12 x 2-dc clusters)
Round 3: Join Colour C into top of first cluster st of previous round, ch 1, sc into same st, make a long dc into the base of the same cluster st, *sc into top of next cluster st, long dc into base of same cluster st . Repeat from * to end Join with a sl st into top of first sc and fasten off.
Round 4: Join Colour D into top of first long dc from previous round, ch 1, sc into same st, make a popcorn in the next st , * sc in next st, popcorn in next st. Repeat from * to end. Join with a sl st into first sc and fasten off.
Round 5: Join Colour A into the first sc between popcorns of previous round, ch 1, sc into same st, ch 3, * sc into next st between popcorns, ch 3. Repeat from * to end. Join with a sl st into first sc. Don’t break off yarn. * if you’re making a hexi scroll down to Hexi instructions for Round 6.
Round 6: Sl st into first ch space, [ch 3 (counts as first dc), 2 dc, ch 2, 3 dc] into same sp, 3 dc into next two spaces, * [3 dc, ch 2 , 3 dc] into next sp, 3 dc into next two spaces. Repeat from * to end (4 corners & 2 sets of 3 dc between). Join with a sl st into top of beginning ch-3 and fasten off.
Round 7: Join White into any corner sp, [ch 3 (counts as first dc), 1 dc, ch 1, 2 dc] into same sp, dc into next 12 sts, * [2dc, ch 1, 2 dc] into corner sp, dc into next 12 sts. Repeat from * to end. Join with a sl st into beginning ch-3. Fasten off and weave in ends.
HEXI:
Rounds 1 – 5: Work as for square
Round 6: Sl st into first ch space, [ch 3 (counts as first dc), 2 dc, ch 2 , 3 dc] into same sp, 3 dc into next sp, * [3 dc, ch 2 , 3 dc] into next sp, 3 dc into next sp. Repeat from * to end (6 corners & 1 set of 3 dc between). Join with a sl st into top of beginning ch-3 and fasten off.
– – – – – – – – – – – – – – – – – – – – – – – – – – – – – – – – – – – – – – – –
Pattern – UK/AUS TERMS:
SQUARE
Start: Make a magic circle or ch 4 and join with a sl st to form a ring
Round 1: Using Colour A, ch 3 (counts as first tr), 11 tr into ring. Join with a sl st and into top of beginning ch-3. Fasten off (12 tr)
Round 2: Join Colour B, ch 2 (counts as 1st partial tr), yo and insert hook back into same st, yo, pull loop through (3 loops on hook), yo, pull through first 2 loops on hook (2 loops on hook), yo, pull through 2 loops (first 2-tr Cluster stitch made), ch 1, * 2-tr cluster, ch 1. Repeat from * into each st to end. Join with a sl st into top of first cluster and fasten off (12 x 2-tr clusters)
Round 3: Join Colour C into top of first cluster st of previous round, ch 1, dc into same st, make a long tr into the base of the same cluster st, * dc into top of next cluster st, long tr into base of same cluster st . Repeat from * to end Join with a sl st into top of first dc and fasten off.
Round 4: Join Colour D into top of first long tr from previous round, ch 1, dc into same st, make a popcorn in the next st , * dc in next st, popcorn in next st. Repeat from * to end. Join with a sl st into first dc and fasten off.
Round 5: Join Colour A into the first dc between popcorns of previous round, ch 1, dc into same st, ch 3, * dc into next st between popcorns, ch 3. Repeat from * to end. Join with a sl st into first dc. Don’t break off yarn.* if you’re making a hexi scroll down to Hexi instructions for Round 6.
Round 6: Sl st into first ch space, [ch 3 (counts as first tr), 2 tr, ch 2 , 3 tr] into same sp, 3 tr into next two spaces, * [3 tr, ch 2 , 3 tr] into next sp, 3 tr into next two spaces. Repeat from * to end (4 corners & 2 sets of 3 tr between). Join with a sl st into top of beginning ch-3 and fasten off.
Round 7: Join White into any corner sp, [ch 3 (counts as first tr), 1 tr, ch 1, 2 tr] into same sp, tr into next 12 sts, * [2tr, ch 1, 2 tr] into corner sp, tr into next 12 sts. Repeat from * to end. Join with a sl st into beginning ch-3. Fasten off and weave in ends.

HEXI:
Rounds 1 – 5: Work as for square
Round 6: Sl st into first ch space, [ch 3 (counts as first tr), 2 tr, ch 2 , 3 tr] into same sp, 3 tr into next sp, * [3 tr, ch 2 , 3 tr] into next sp, 3 tr into next sp. Repeat from * to end (6 corners & 1 set of 3 tr between). Join with a sl st into top of beginning ch-3 and fasten off.
I hope you’ll enjoy making these sweet motifs.
Until next time
Michelle x

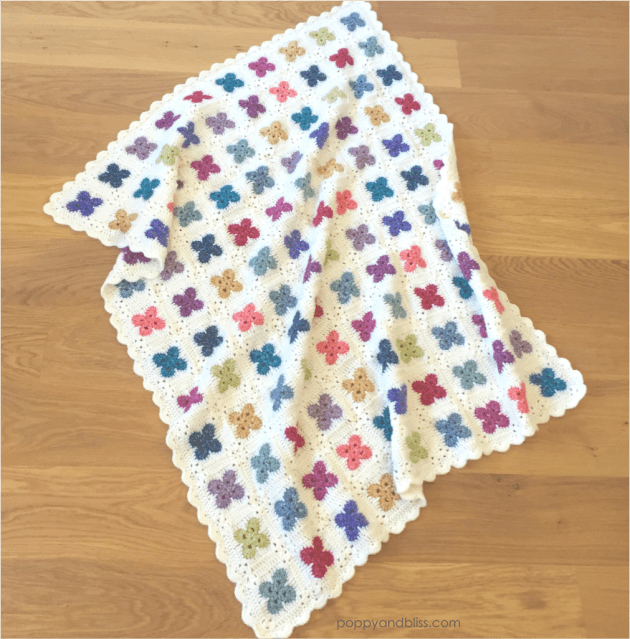
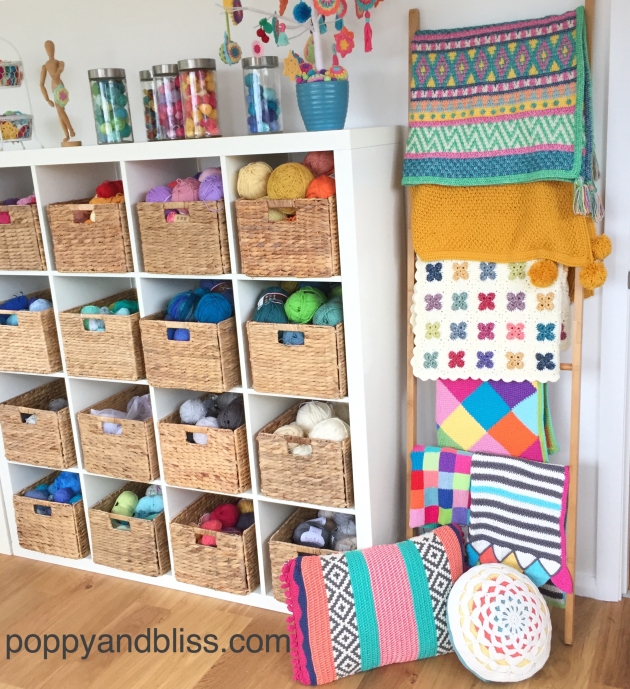 Here she is sitting at the top of the ‘to do list’ aka the ‘ladder of shame’ in my new craft room in my new house… one of the life things that got in the way of writing up the pattern. Building houses and crochet pattern writing don’t mix well together I’ve found!
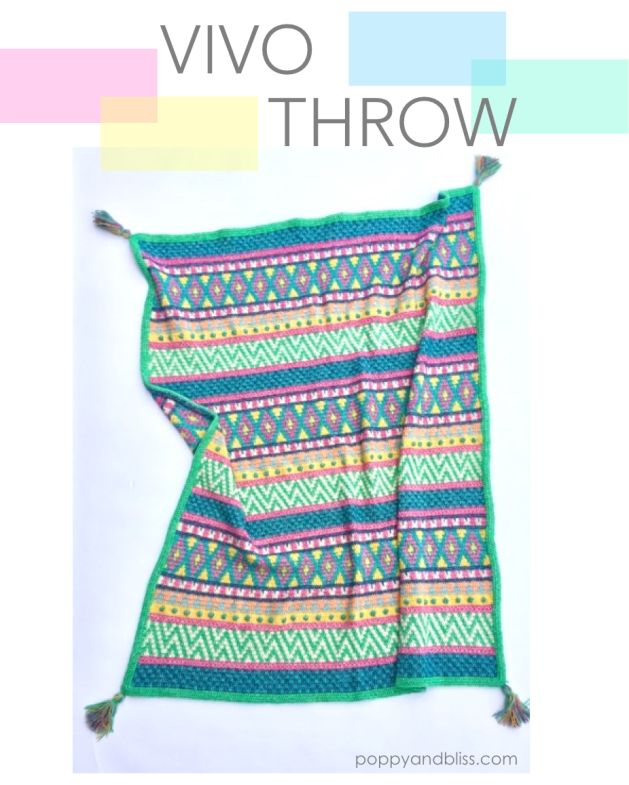
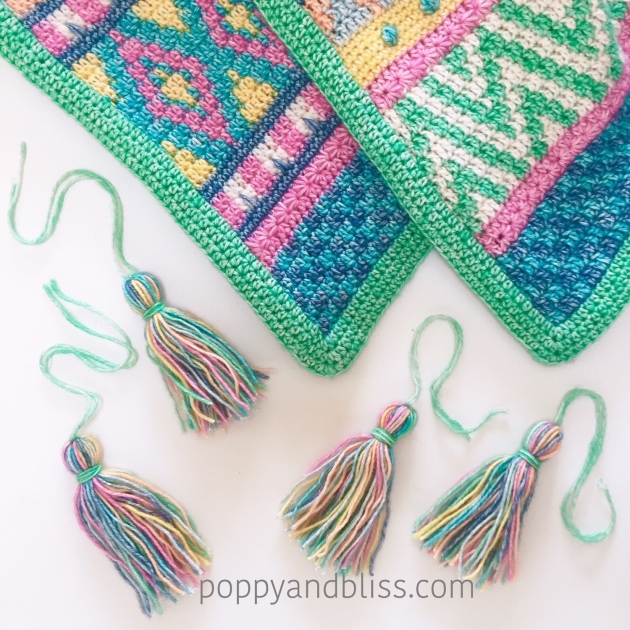 Just like the cushion version, the blanket is created using tapestry crochet and textured stitches to create the designs. The pattern is rated as intermediate, mainly for all the colour changes but it is not as complicated as it looks using only basic stitches and each design element is set out in strips with easy to follow short pattern repeats for each section.
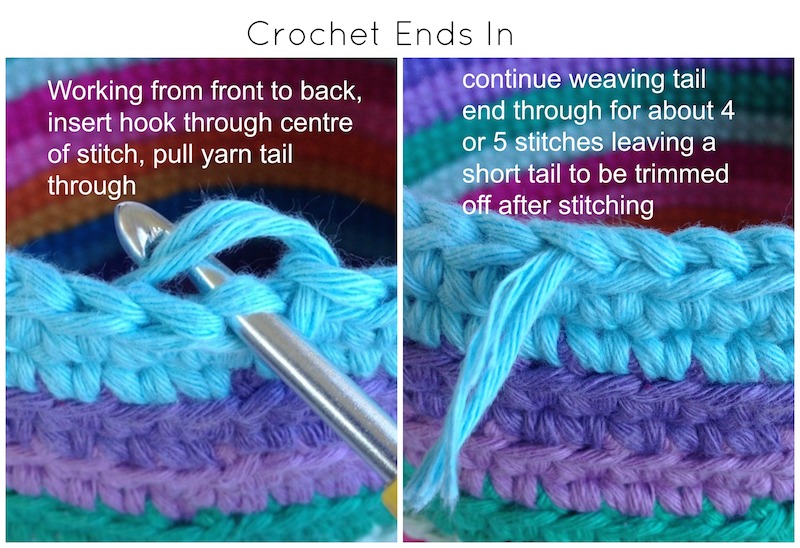
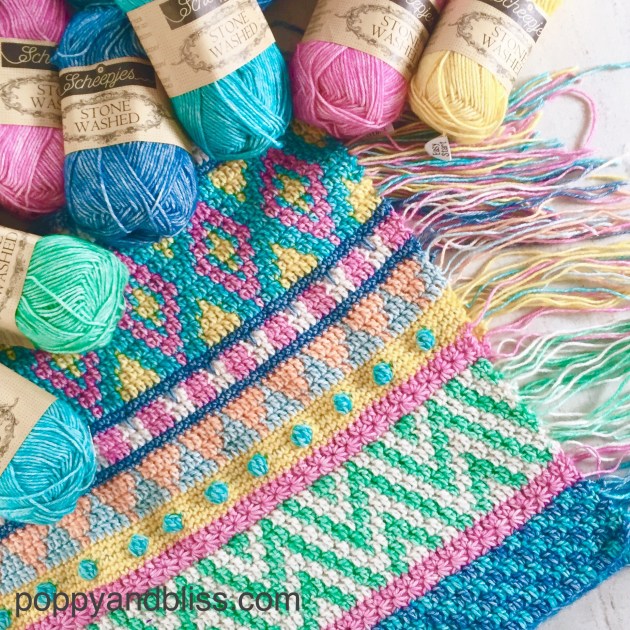 Don’t be put off by all those ends! With a little bit of magic and a little bit of cheating we’ll deal with those pesky bits without any weaving in.
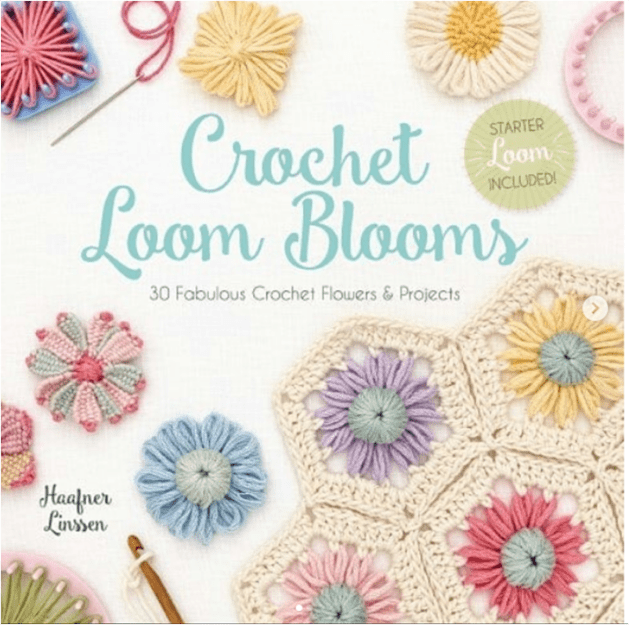 I’m back today with another book review. There are so many great craft books coming out lately I can barely keep up and today’s featured book is no exception!
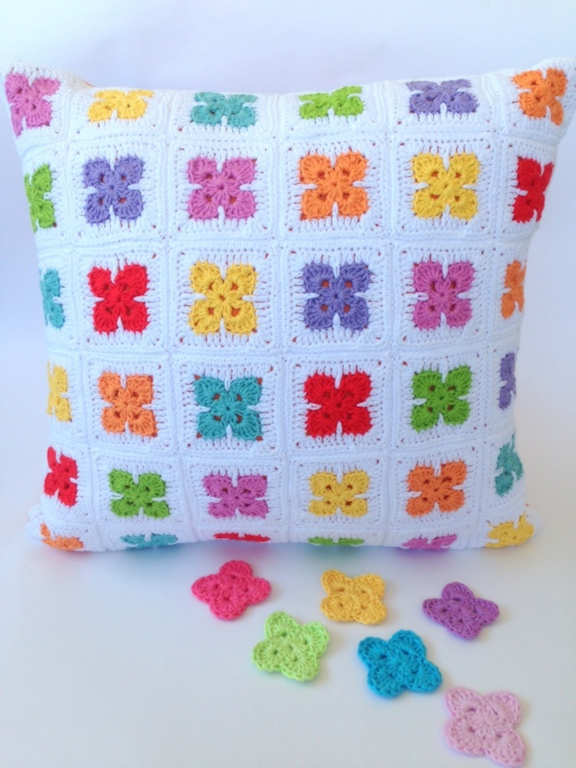
 It’s the ‘Summer of Love’ motif. Cute, yes! I think I’ll keep going and make a cushion cover.
 image credit: F & W media
 image credit: F & W media
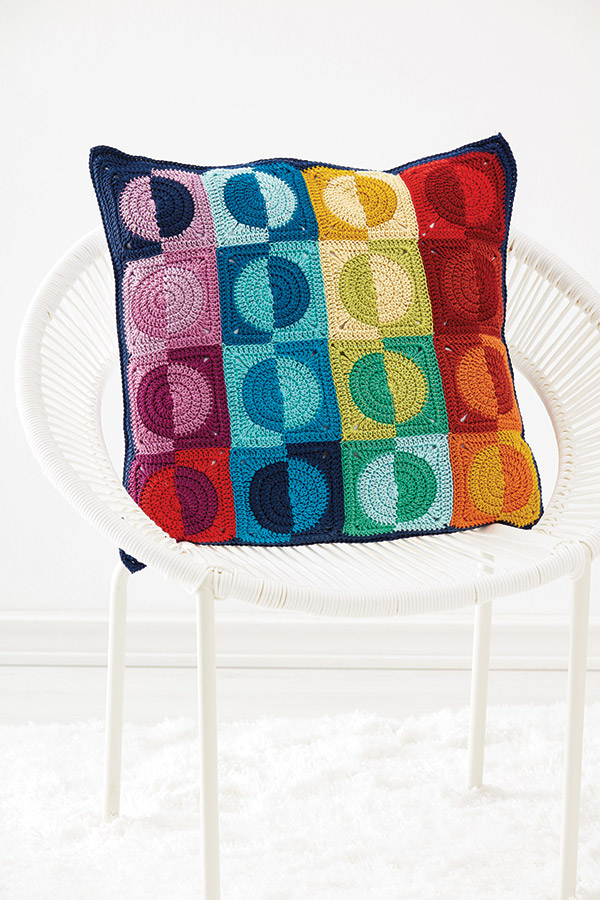


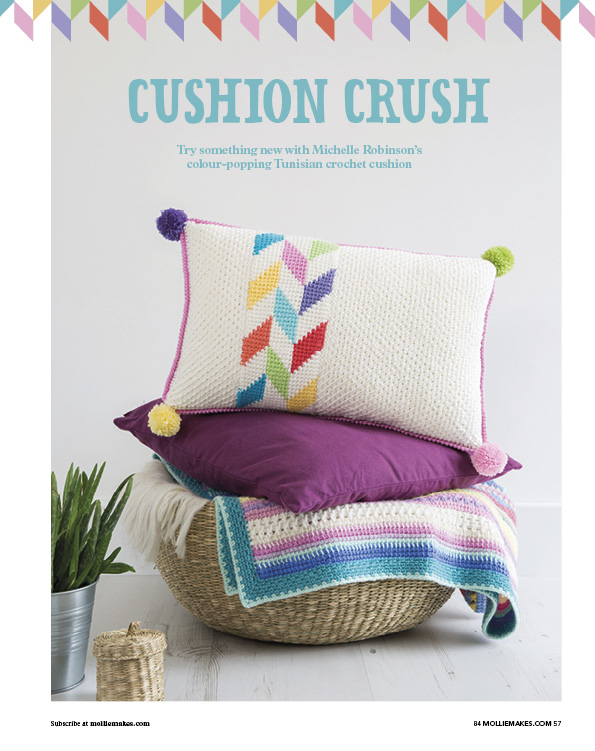 I was pleasantly surprised to discover the Herringbone Cushion pattern from my
 Hello friends 🙂