
 Hello friends 🙂
Can you believe it’s nearly Christmas !? Nope. Me either! My head is still firmly stuck way back in June somewhere and I’m not at all ready to start thinking about Turduckens or Christmas cheer.
Despite my un-christmasy mood, I’ve put together a quick and easy pattern for you to deck your halls (or tree).
So without further ado here ’tis…
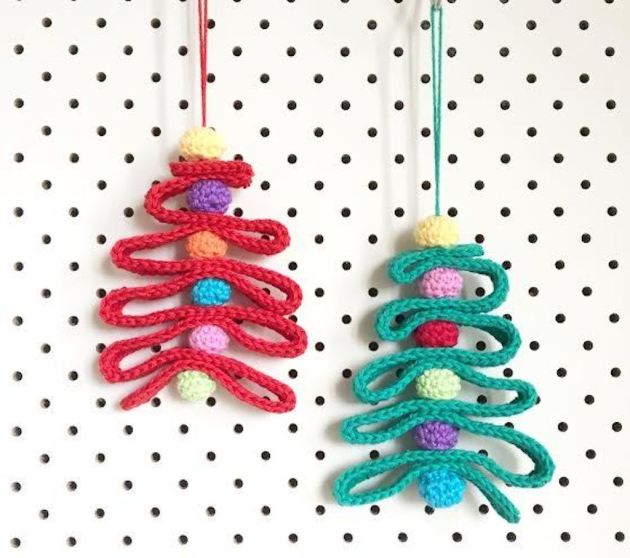
Crochet Ribbon Christmas Tree
Edit: You can now get an ad free, print friendly version here on: Ravelry | Etsy |Love Crochet
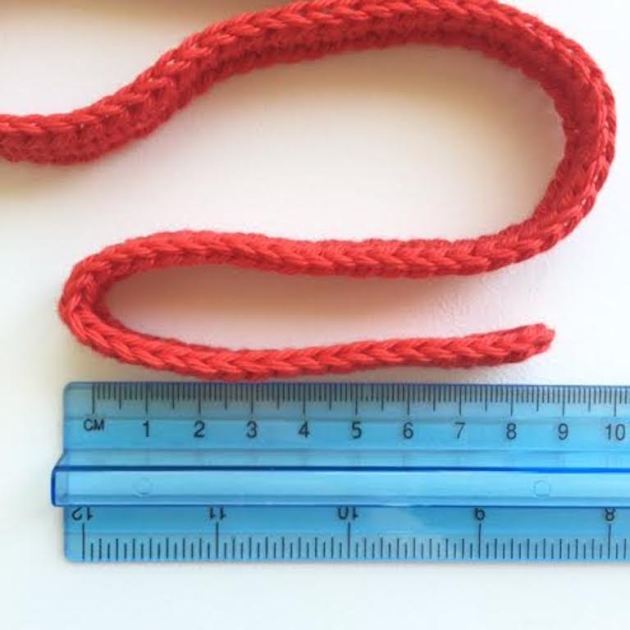
Finished size: 13 cm
What you’ll need:
- 3 mm hook
- Small amounts 8 ply/DK cotton yarn. I’ve used various brands from my stash but a stiffer cotton works better than a soft cotton for these.
- Aprox 13g for the tree
- Aprox 3 g each in 6 different colours for the baubles
- Yarn needle
Tip: You can use any weight yarn for these but they will turn out a different size. Use a hook smaller than you normally would for your yarn so that your work is nice and firm.
US Terms Used (UK/Aus terms in brackets)
Abbreviations:
ch – chain
sc (dc) – single crochet (double crochet)
hdc (htr) – half double crochet (half treble)
ss – slip stitch
Pattern
Tree – Make 1
Foundation row: Ch 182
Row 1: Hdc (htr) into 3rd ch from hook, hdc (htr) up to last ch, 5 hdc (htr) into last ch
Row 2: Turn work upside down and work into bottom loop of ch, hdc (htr) up to last st, 4 hdc (htr) into last st. Join with a ss into top of beginning ch-2. Fasten off and weave ends in.
Baubles – make 6
Worked in spiral rounds
Start: Leaving a long tail (about an arms length) to be used for stuffing later, make a magic circle
Round 1: working into ring, ch 1 (not counted as a st), 6 sc (dc)
Round 2: 2 sc (dc) into each st (12 sc/dc)
Round 3: 12 sc (dc)
Round 4: * skip one st, sc (dc) into next st. Repeat from * 5 more times, stopping half way to insert stuffing (roll long yarn tail into a rough ball shape and squish into half closed ball. Use the blunt end of your hook to help push it all in before you finish closing). Join with a ss.
Fasten off and bury yarn end back up through centre of ball. Clip closely.
Assembly:
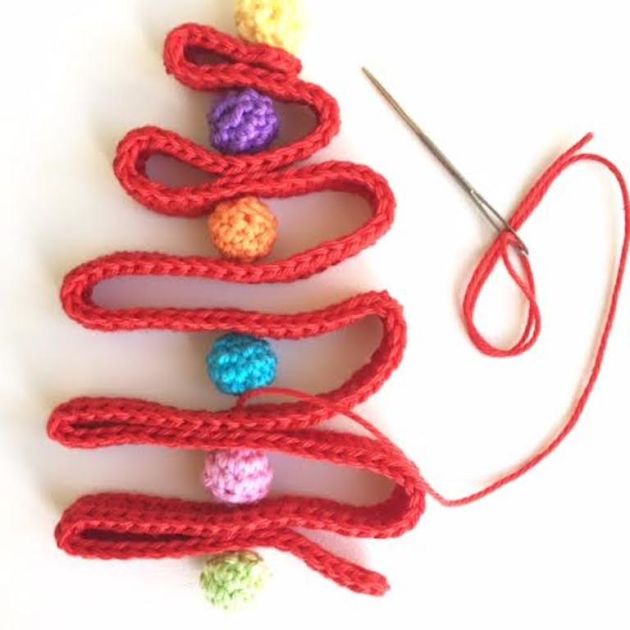
Step 1: Lay your tree piece out on a flat surface and fold end back aprox 8.5 cm
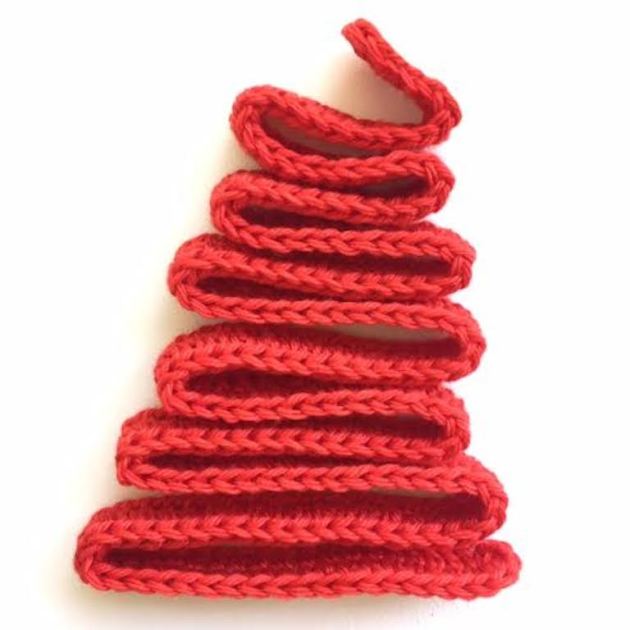
Step 2: Keep folding up, making each fold slightly shorter than the last until it looks something like this
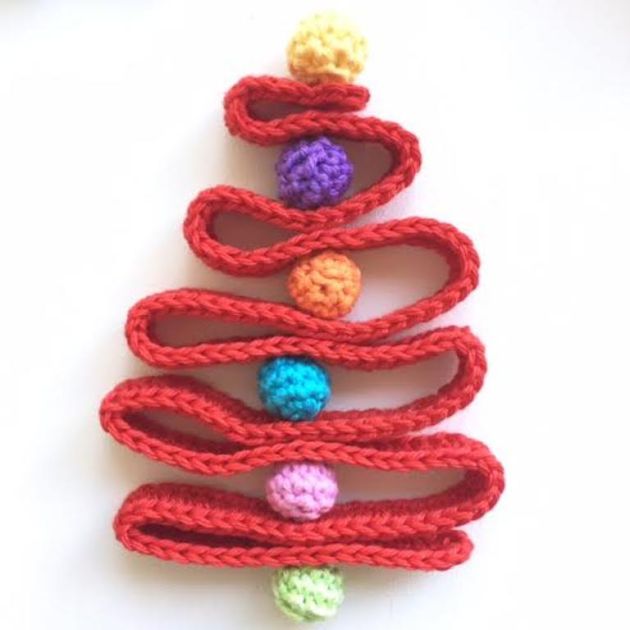
Step 3: Place your first bauble at the base of your tree and continue up, placing baubles between 2 layers of each fold (see pic). You’ll probably have to fiddle a bit to get your folds looking right (and will need to fiddle even more when you start sewing in a minute)
When you’re happy with your tree shape, thread your needle with a length of yarn aprox 40 cm, using the colour of your choice (this will also become the hanging loop)
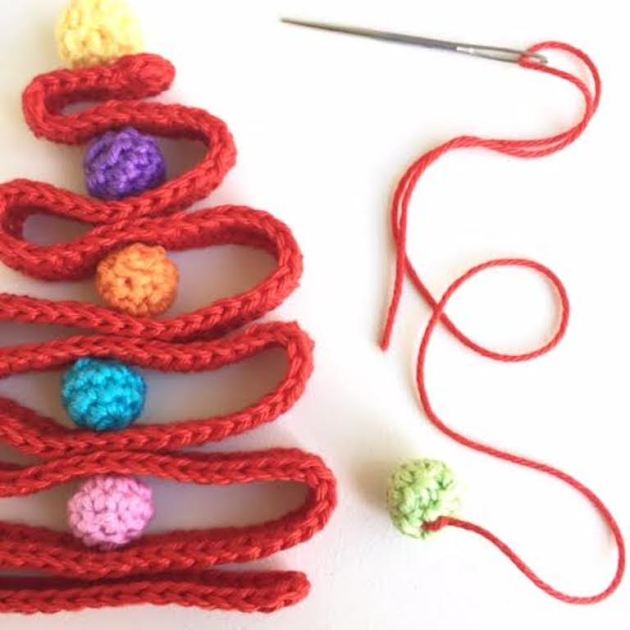
Step 4: Starting with the bottom bauble, secure your thread with a couple of small stitches in the centre top of the bauble (you won’t see this as this side will rest up against the bottom of the tree)
Step 5: Take your needle up through the first layers, pick up your next bauble and run needle up through the centre and then through the next set of layers.
Continue joining together this way until all baubles are attached.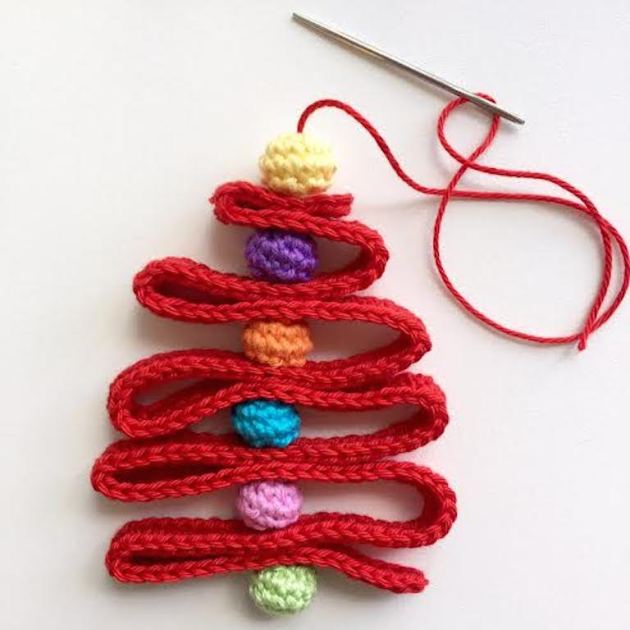
Step 6: Give the tail end a little tug to tighten (don’t pull too hard or you’ll squish your baubles out of shape).
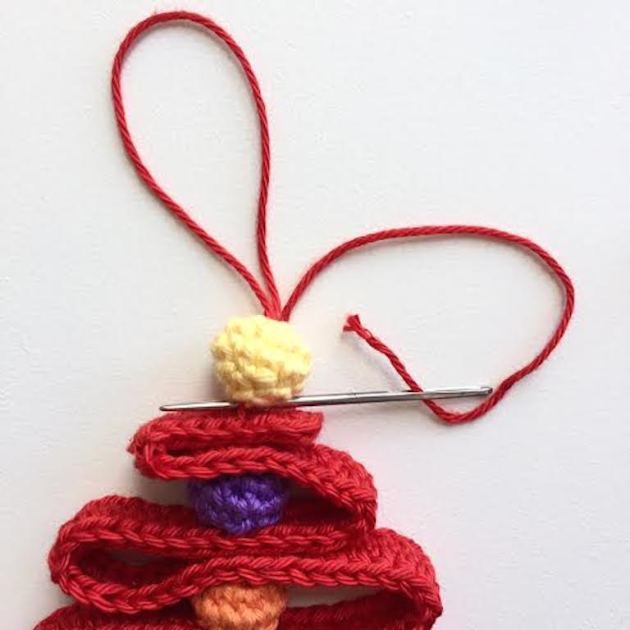
Step 7: Make a hanging loop with the remaining yarn by going back down through the centre of the top bauble and make a few small stitches into the bottom of the bauble and the top layer of the tree to secure.
Give your tree a little ‘foof’ and hang for everyone to admire.
Until next time
Michelle x
